Why are 3D characters complex works?
Published on by Maiara Araújo
Hello, how are you? In this article, I will share my process of creating a 3D character. 3D modeling requires a lot of knowledge, whether technical or within software. There's an ironic tweet from the co-founder of FlippedNormals, a modeler and instructor, that illustrates this well:
Look, I don't know why people say it's hard to learn 3D. You just need to know Maya, Blender, Painter, ZBrush, Photoshop, Nuke, Arnold, lighting fundamentals, anatomy, sculpting, texturing, color theory, composition, and hotkeys for all software under the sun
Henning Sanden @henningsanden
With that, I will list the stages, from blocking the character to completing a fanart I did in 2022 to showcase the process. For this work, I skipped the "Character Concept" stage as I based it on a music video with real-world reference images.
I note that this workflow below is for organic modeling, i.e., models that will undergo deformation, that will pose. For inorganic modeling (also called hard surface), we use different stages.
Stage 1 - Blocking
Software: ZBrush
This is where we start sculpting, building proportions, primary shapes, volumes, and the character's silhouette. It's like a sketch. Note that just because your character is not realistic but cartoonish, it doesn't mean we shouldn't follow anatomical fundamentals.
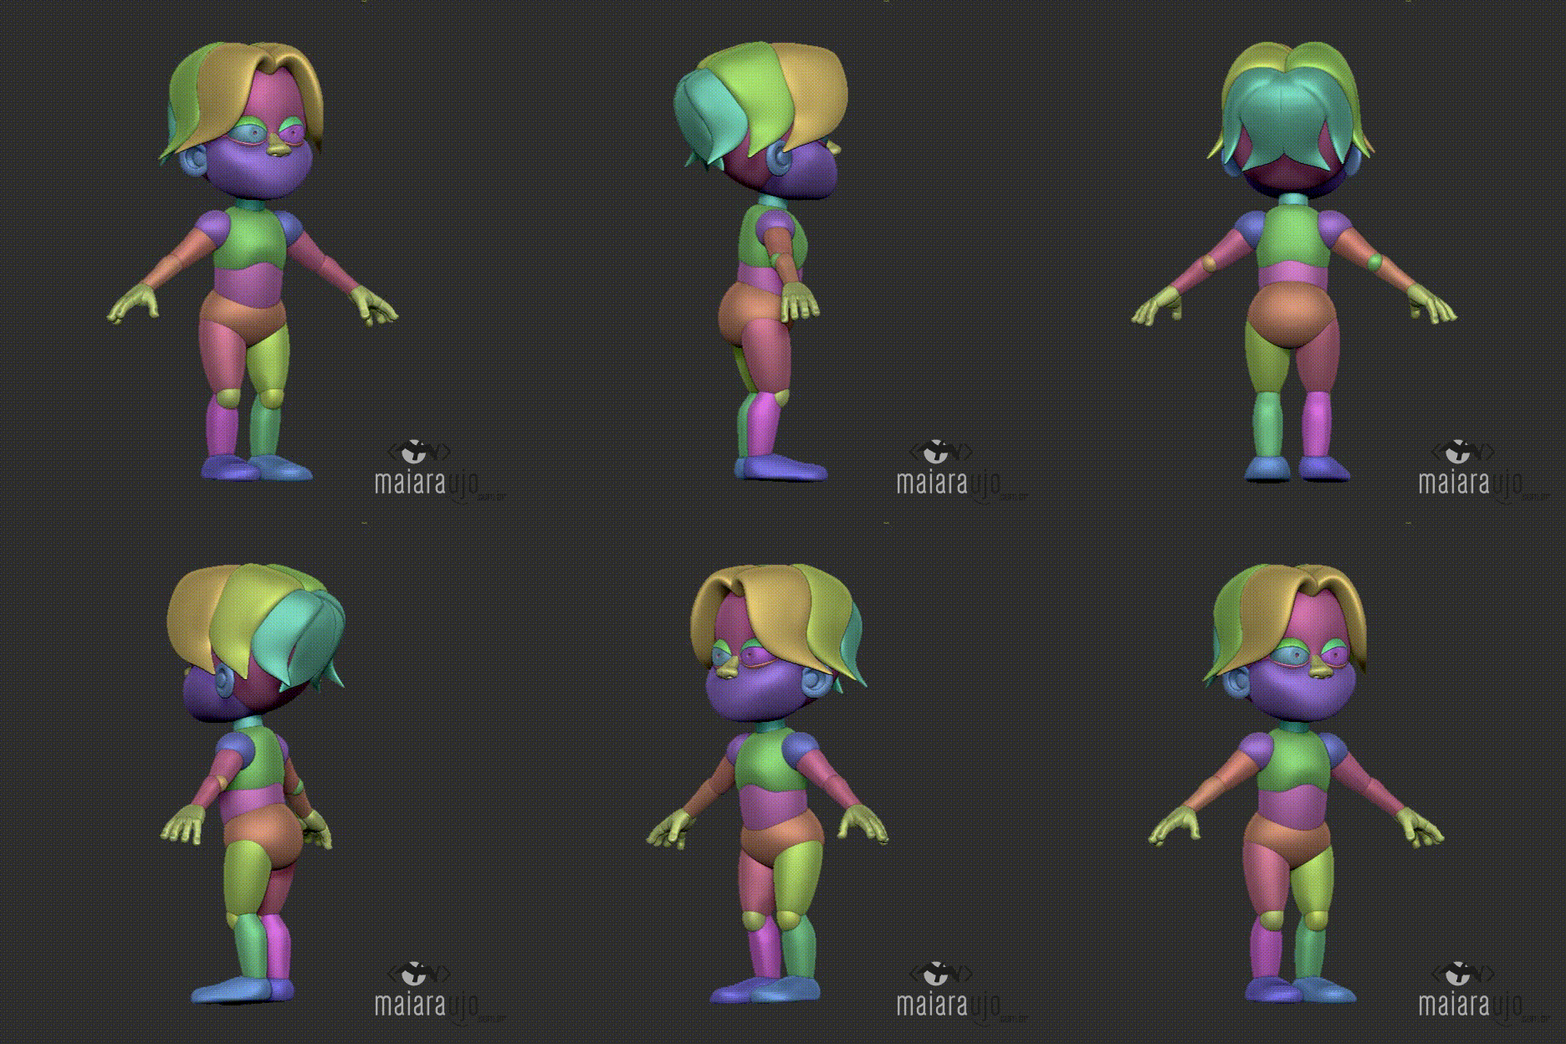
After blocking, we merge shapes, smooth the surface, add details, and export to Maya.
Must-read reference for more on this topic: Anatomy for Sculptors, Understanding the Human Figure - Uldis Zarins and Sandis Kondrats
Stage 2 - Retopology and accessory modeling
Software: Maya
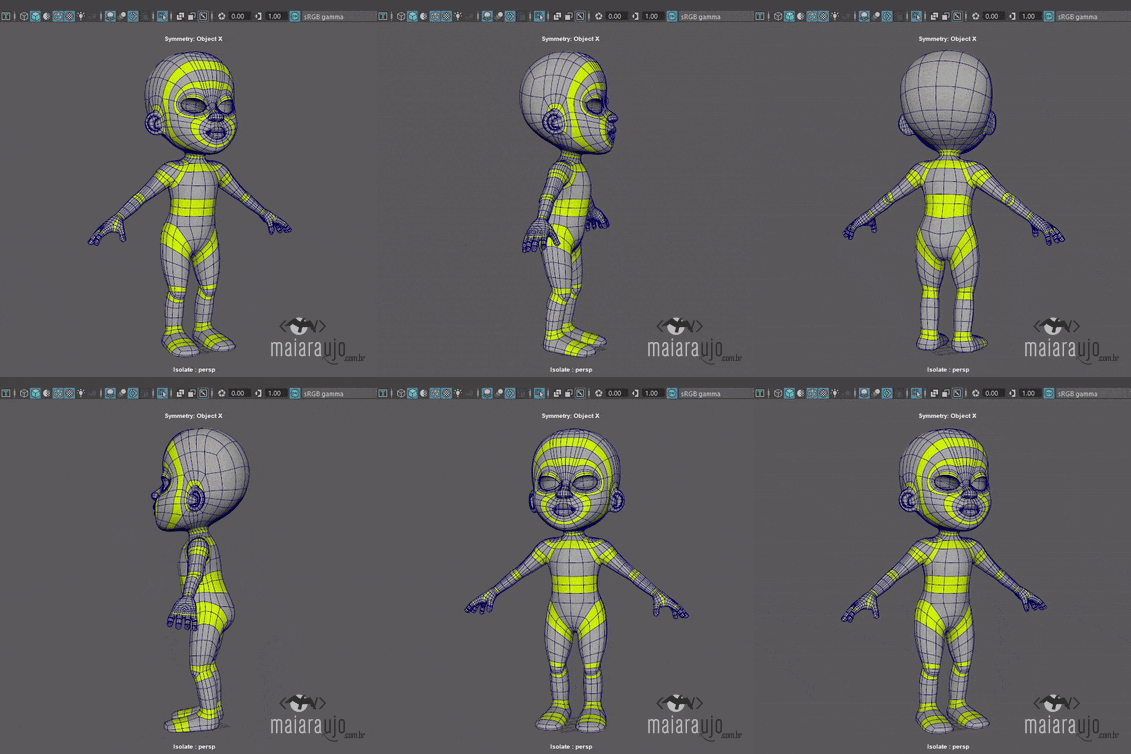
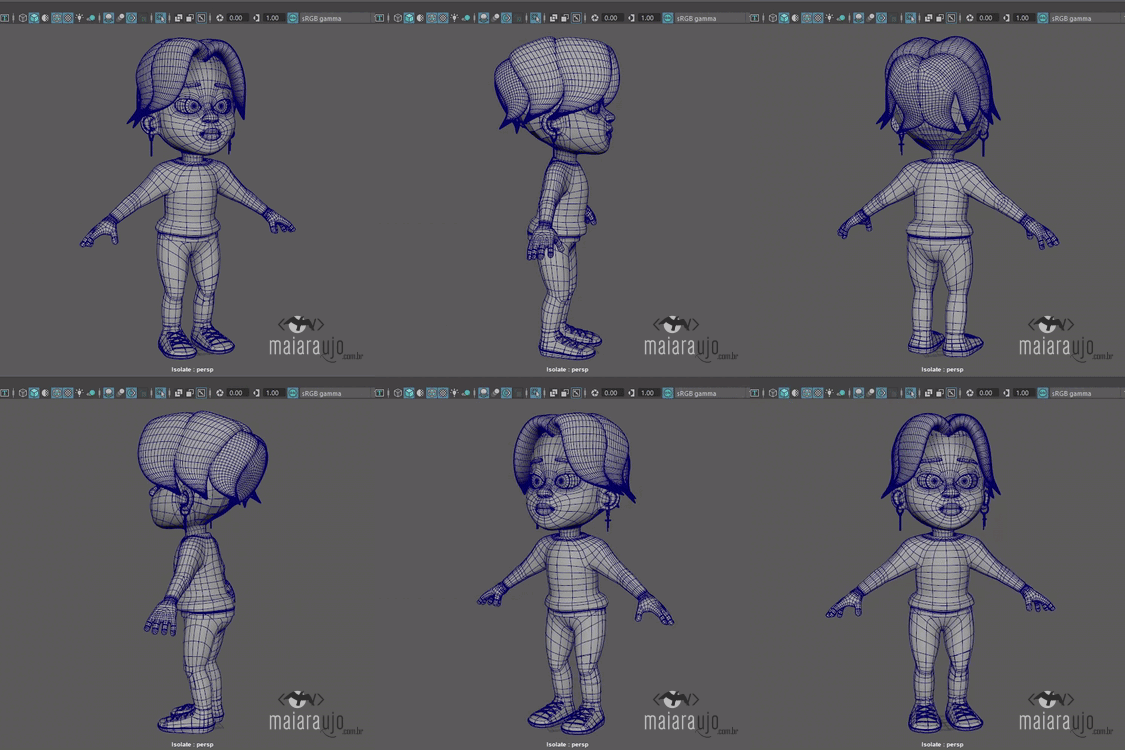
Here, we reconstruct the mesh and redesign the topology (the flow of polygons on the mesh).
Good topology helps in various aspects, one of them being optimizing rendering time (explained in the Render stage), and the most important aspect is that without proper topology, we cannot achieve proper deformation.
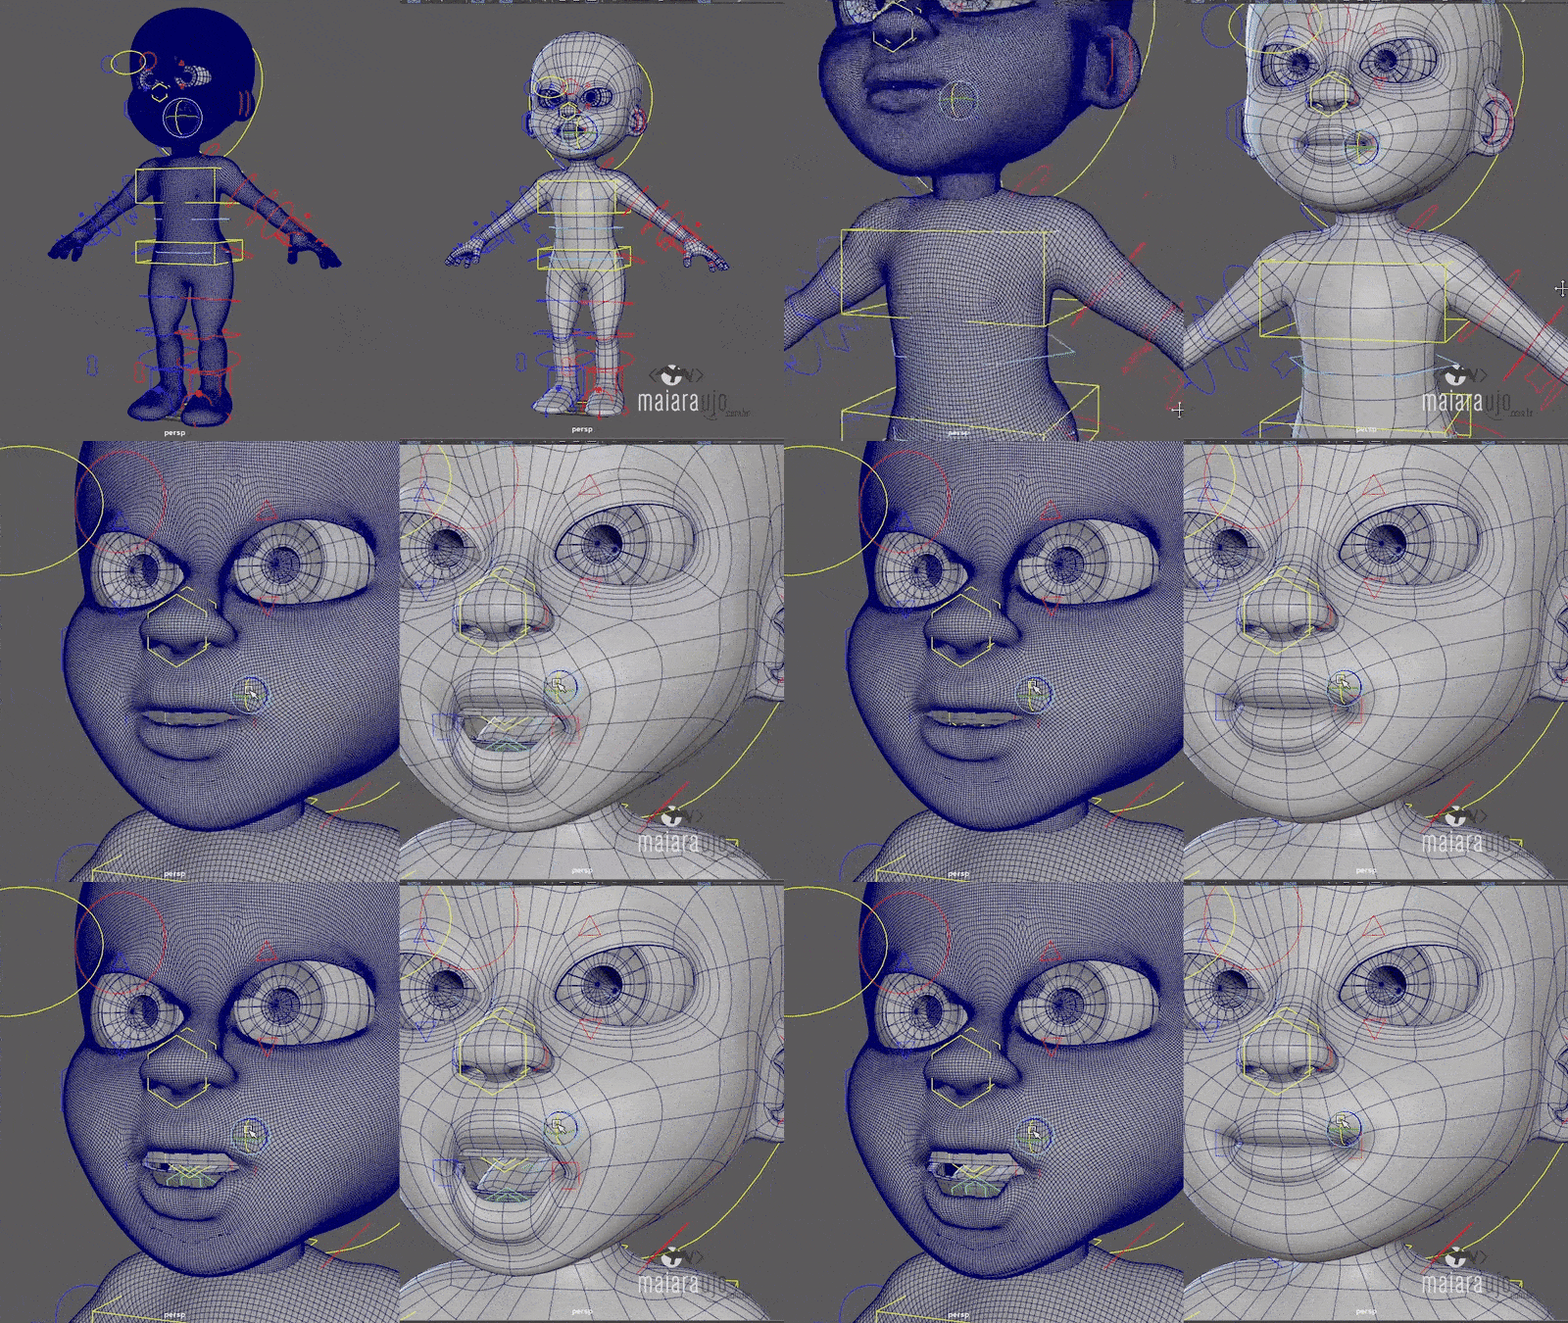
And the retopology process involves drawing polygon by polygon, following the main deformation loops, for example, around the eyes, mouth, skin folds at joints, etc.
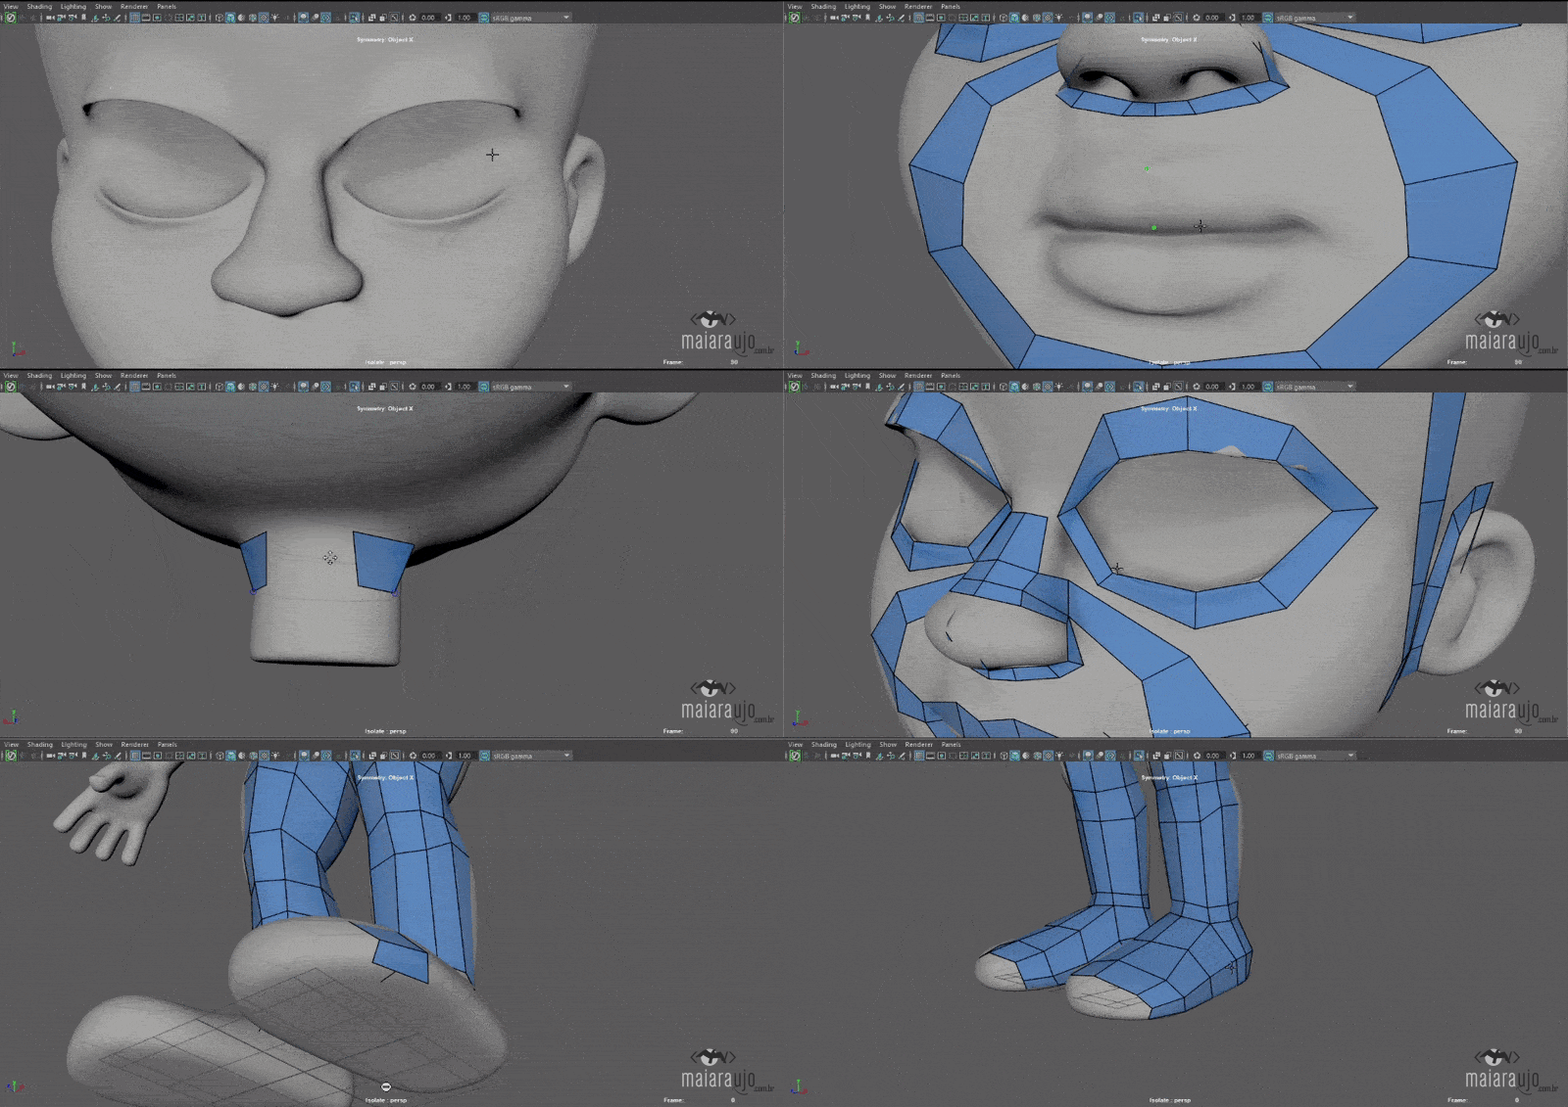
Result after filling:
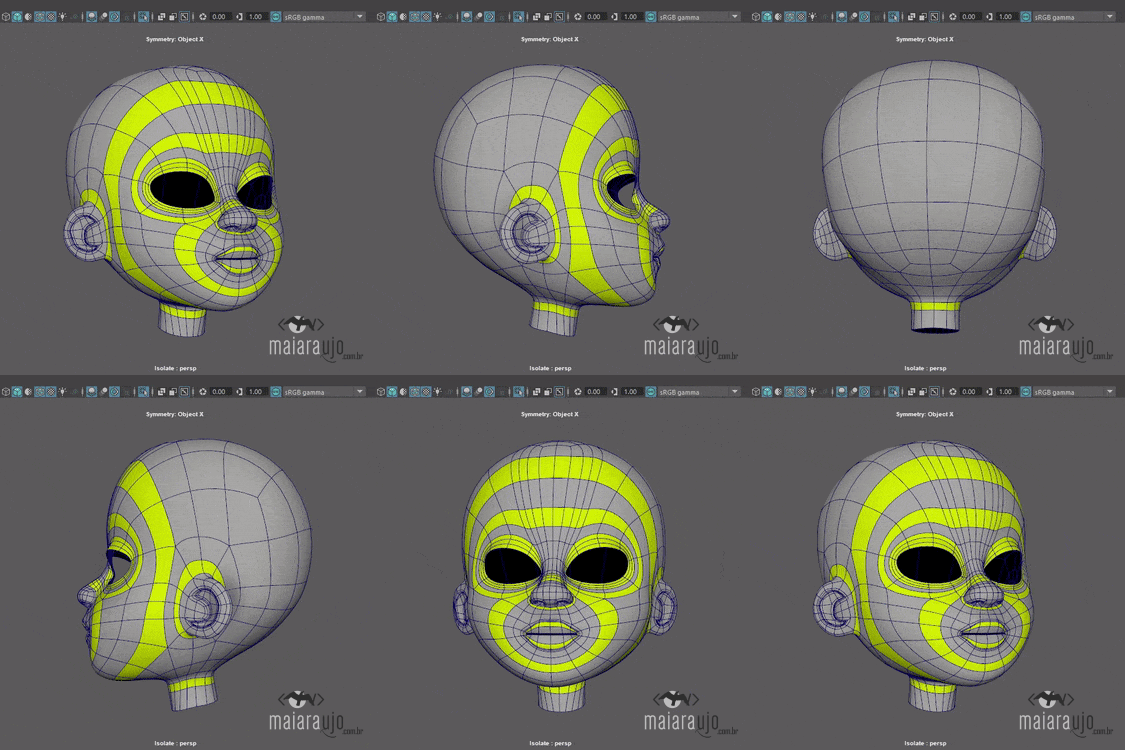
And after modeling smaller accessories:
Must-read references for more on this topic:
The Pushing Points Topology Workbook 1 - William Vaughan
Digital Modeling - William Vaughan
Stage 3 - UV Mesh Unwrapping
Software: Maya
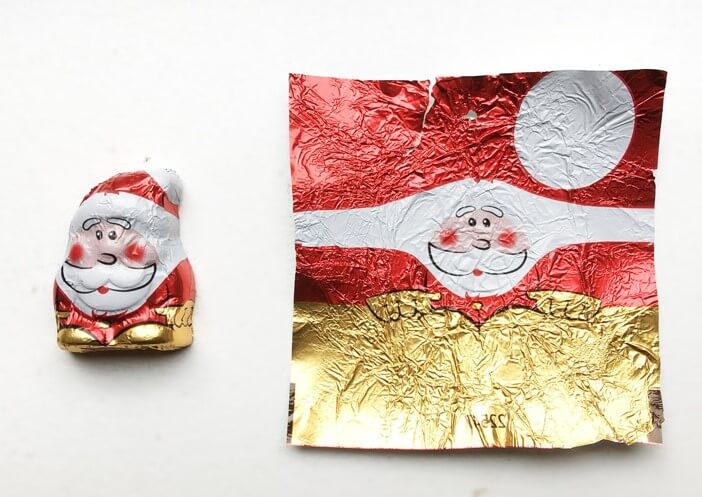
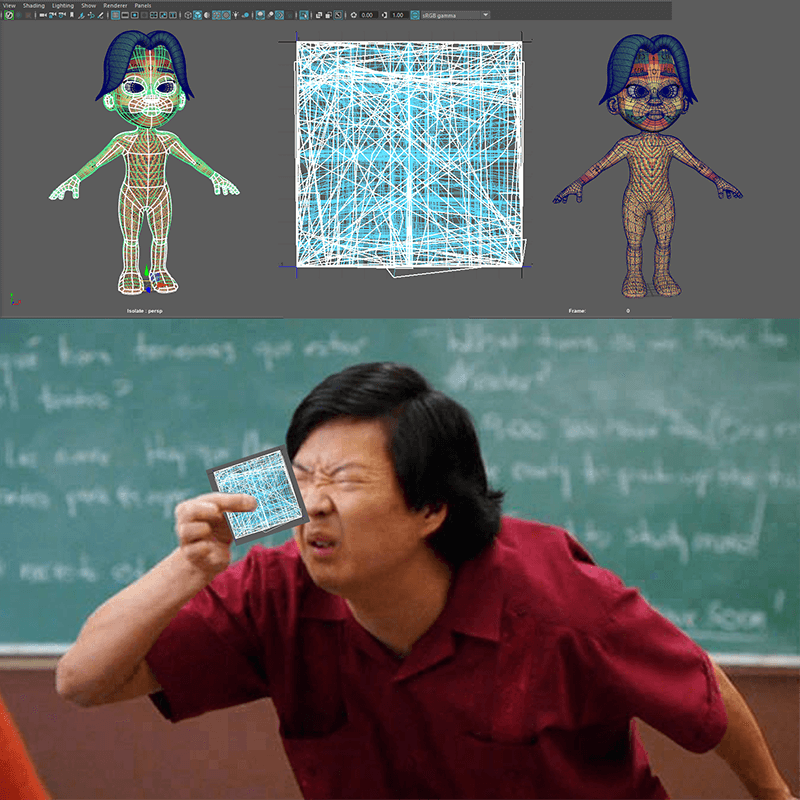
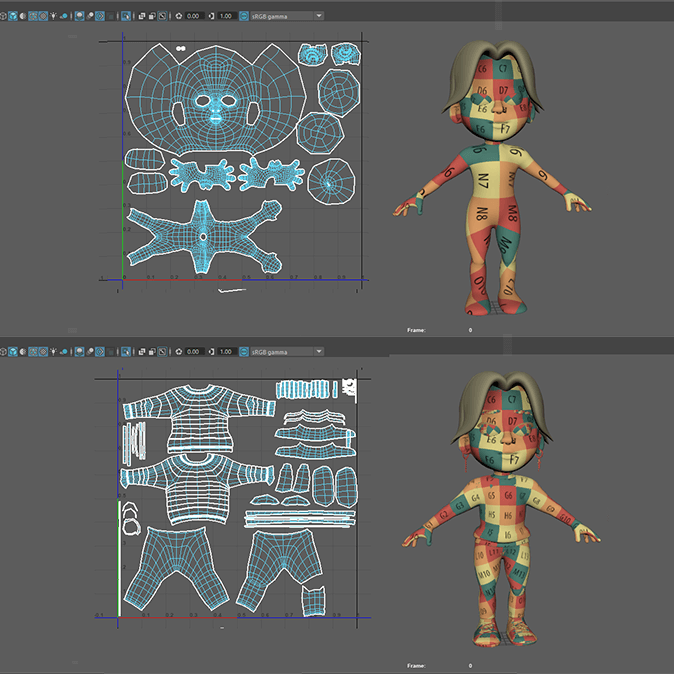
Mesh unwrapping (also called unwrap) involves projecting a 2D image onto the surface of the 3D model. Basically, it's taking your 3D object and flattening it to paint the texture on top.
A simplistic way to explain UV unwrapping:
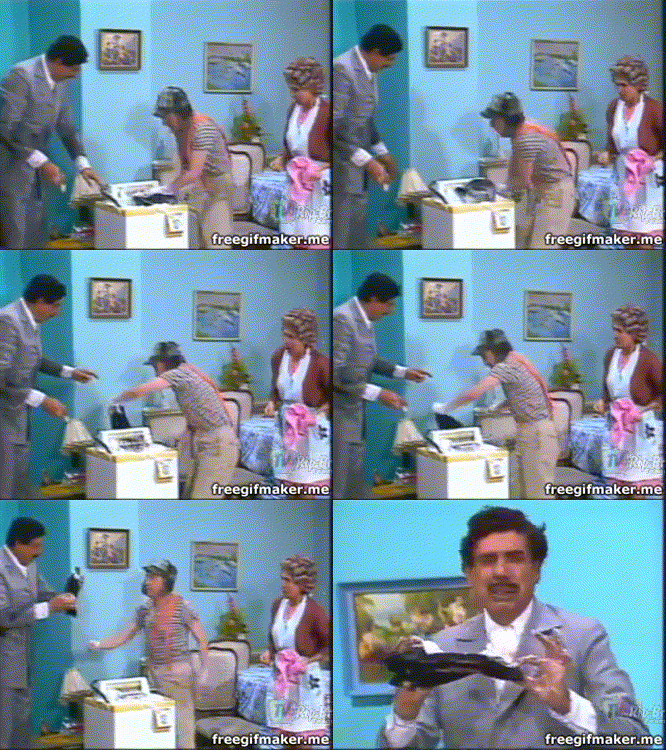
And a simplistic way to explain how we do it in projection:
Below, I show how it looks before mesh unwrapping:
And after projection, cutting, relaxation, distortion/shift checking with the test texture, and organization of UV islands/shells:
Stage 4 - Texturing
Software: Substance Painter and Photoshop
Now it's time to get dirty! At least with pixels.
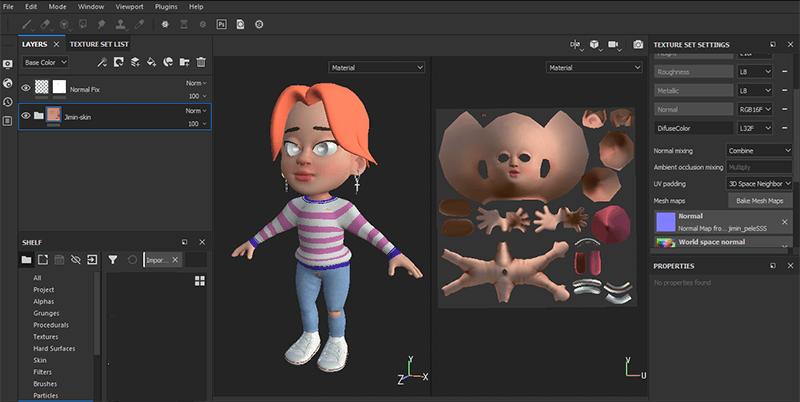
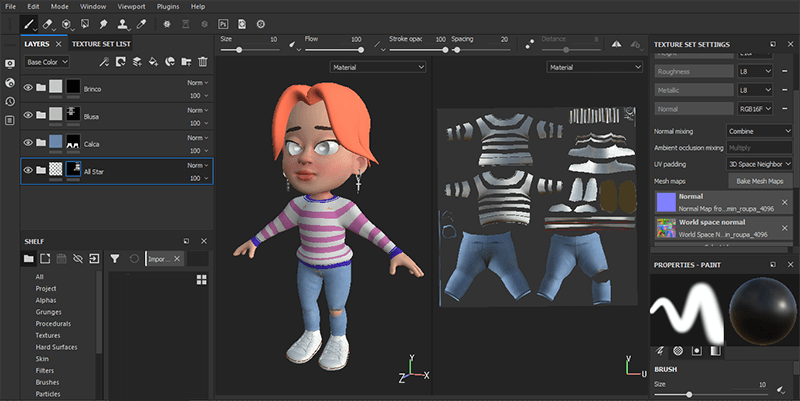
Must-read reference for more on this topic: Color and Light: A Guide for the Realist Painter - James Gurney
Stage 5 - Rigging and Setup
Software: Maya with DP AutoRig
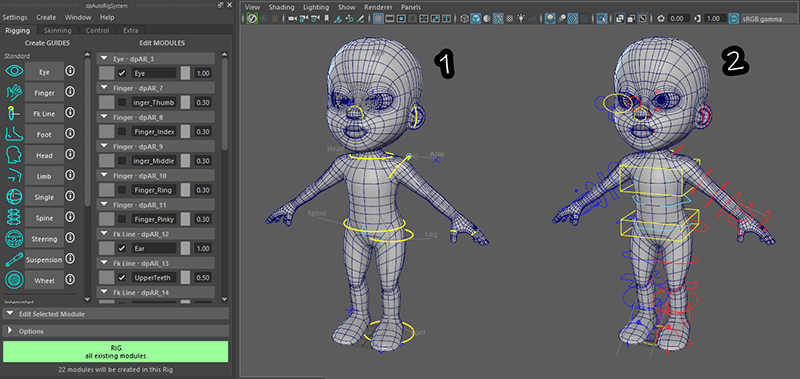
With the help of Danilo Pinheiro's plugin: DP AutoRig, I can place controllers in the right places and generate the skeleton (called Rig) for our character that will be applied to our model and allow us to pose it.
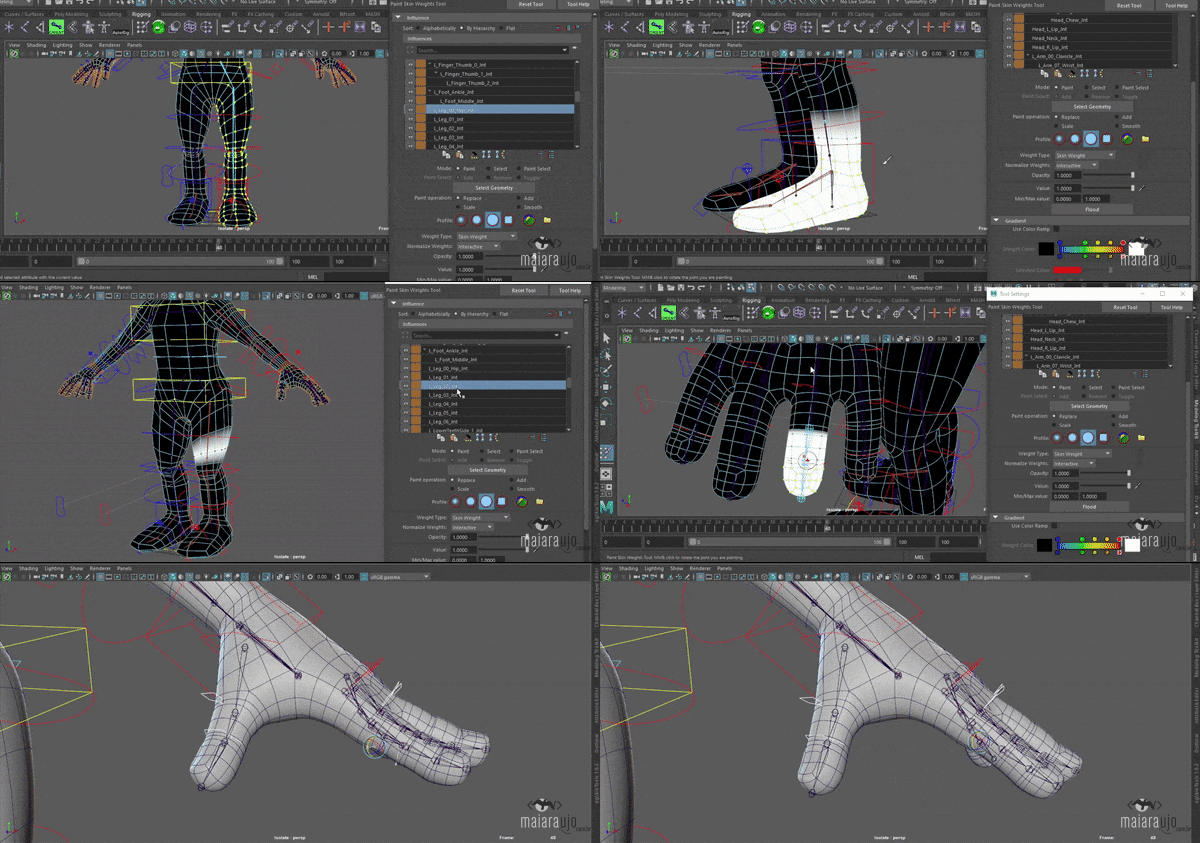
Then it is necessary to do weight painting, which is manually controlling how much and where each joint will deform.
Must-read reference for more on this topic: The Art of Visual Storytelling, Tina O'Hailey
Stage 6 - Hair
Software: Maya with Xgen
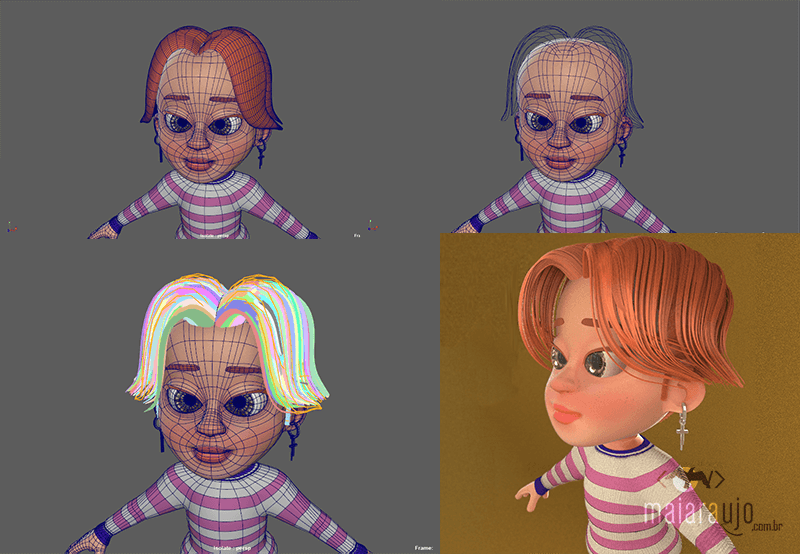
This stage is for models where the hair is not geometry but strands. I use X-gen and first model the base geometry that will serve as a form for the strands, then model the scalp from where the strands will emerge, convert the edges of the base geometry into guides, add them to X-gen, and from here it's meticulous work adjusting strand by strand and adjusting modifiers to achieve the desired result.
Stage 7 - Lighting
Software: Maya
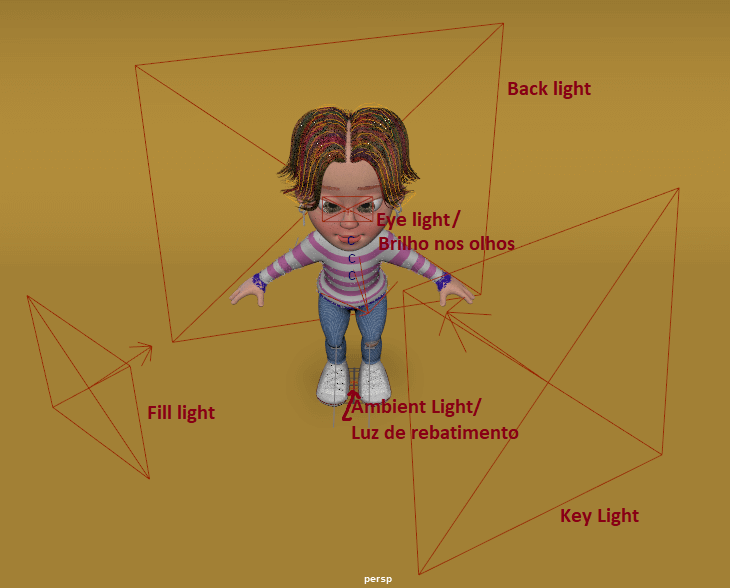
The scene's lighting depends on what effect you want to achieve as a result. For object exposure lighting, for example, for your character, I use the three-point lighting technique. This technique involves adding three main lights: Key, which is the main direct light; Fill, which is a direct light that only fills the other side of your object/character; Back, another direct light that creates a beautiful silhouette around your object. To achieve better results, I also add a specific light that only illuminates the eyes, to give that sparkling effect, and add another fill light, which is an indirect light to help with bounce lights, which is the ambient light.
Must-read references for more on this topic:
Digital Lighting and Rendering (3rd ed) - Jeremy Birn
Lighting for Animation - P. Jasmine Katatikarn and Michael Tanzillo
Stage 8 - Rendering
Software: Maya with V-ray
The technical way to explain rendering is that it is a calculation that the software does to generate and calculate light and applied texture. This is the time when we need to wait for the program to build the image, calculating each light and shadow in the details of each object in the scene. The waiting time will depend on various factors, one of them is the machine we have (a powerful graphics card is necessary), whether there is animation or not (on average 24 to 30 frames per second), the polygon density in our objects (see the importance of retopology here!), and the resolution of our textures.
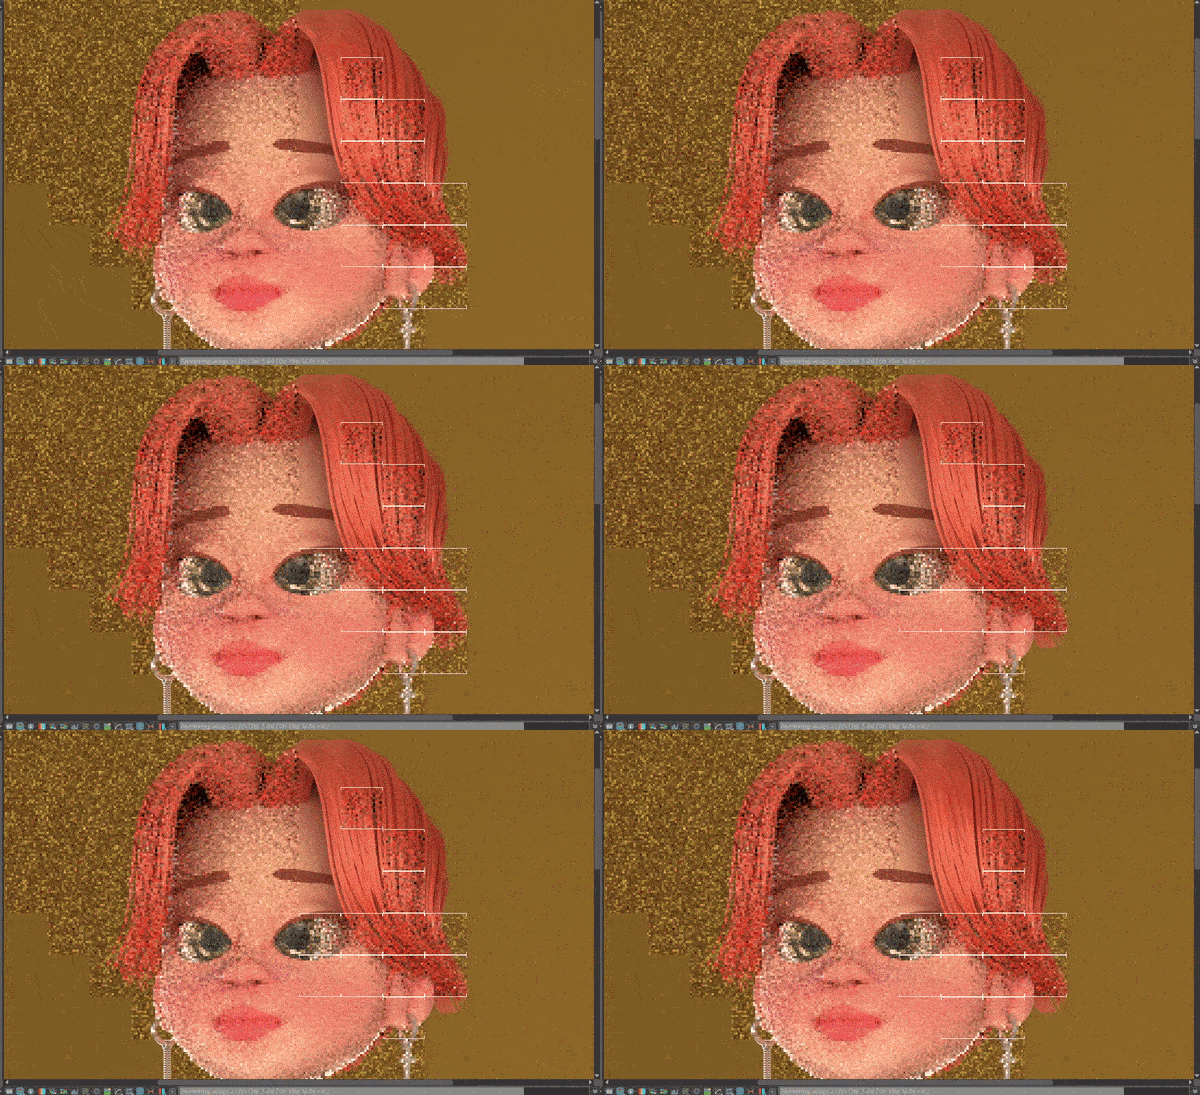
And what there is to do basically is...
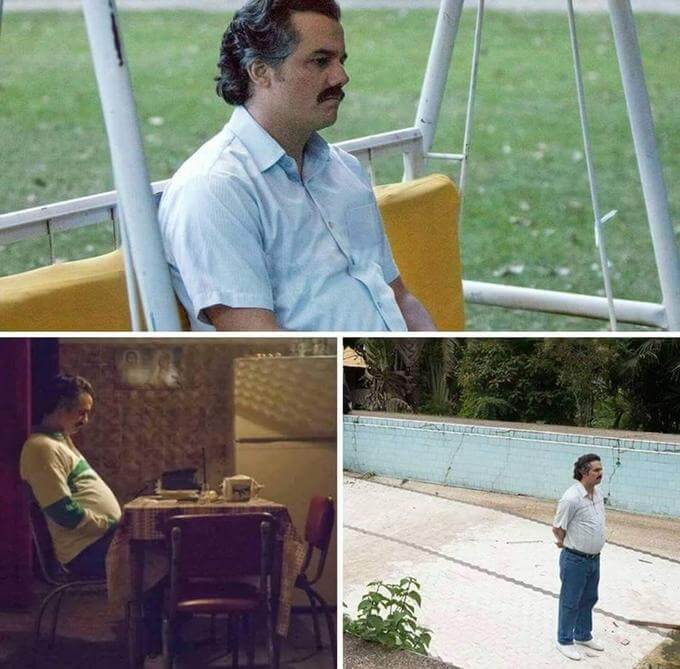
...wait.
Stage 9 - Self-evaluation
Here it goes back and forth. Render and check what still needs improvement, errors to be fixed, and receive suggestions for improvements from the client, colleagues, and project coordination.
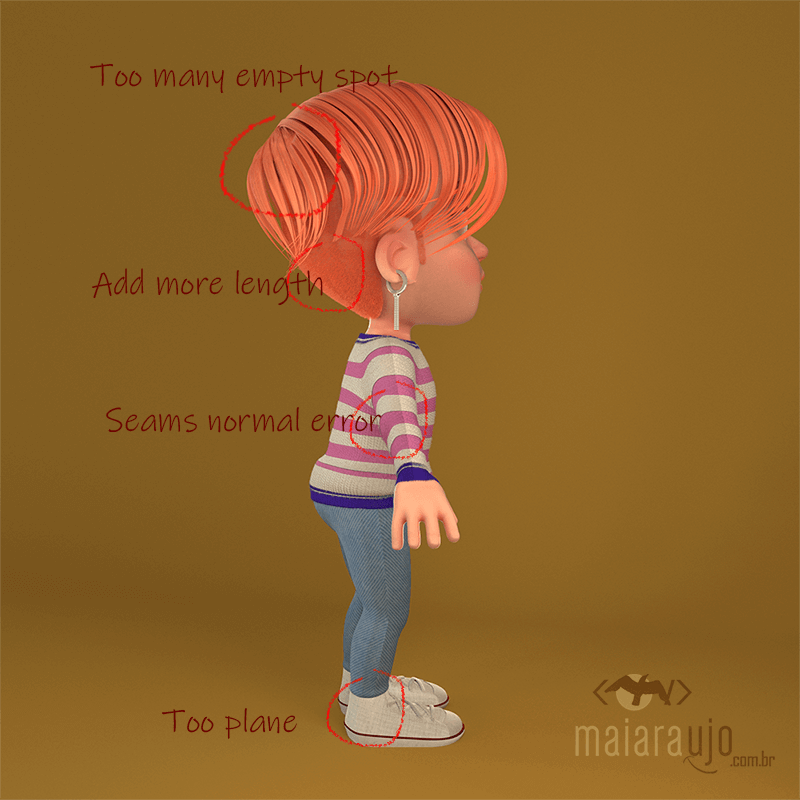
Stage 10 - Post-Production
Software: Photoshop
Now it's time to gather all the passes (also called Render Elements), add AO (Ambient Occlusion) to give more depth, intensify or soften shadows and lights as needed, apply filters and effects.
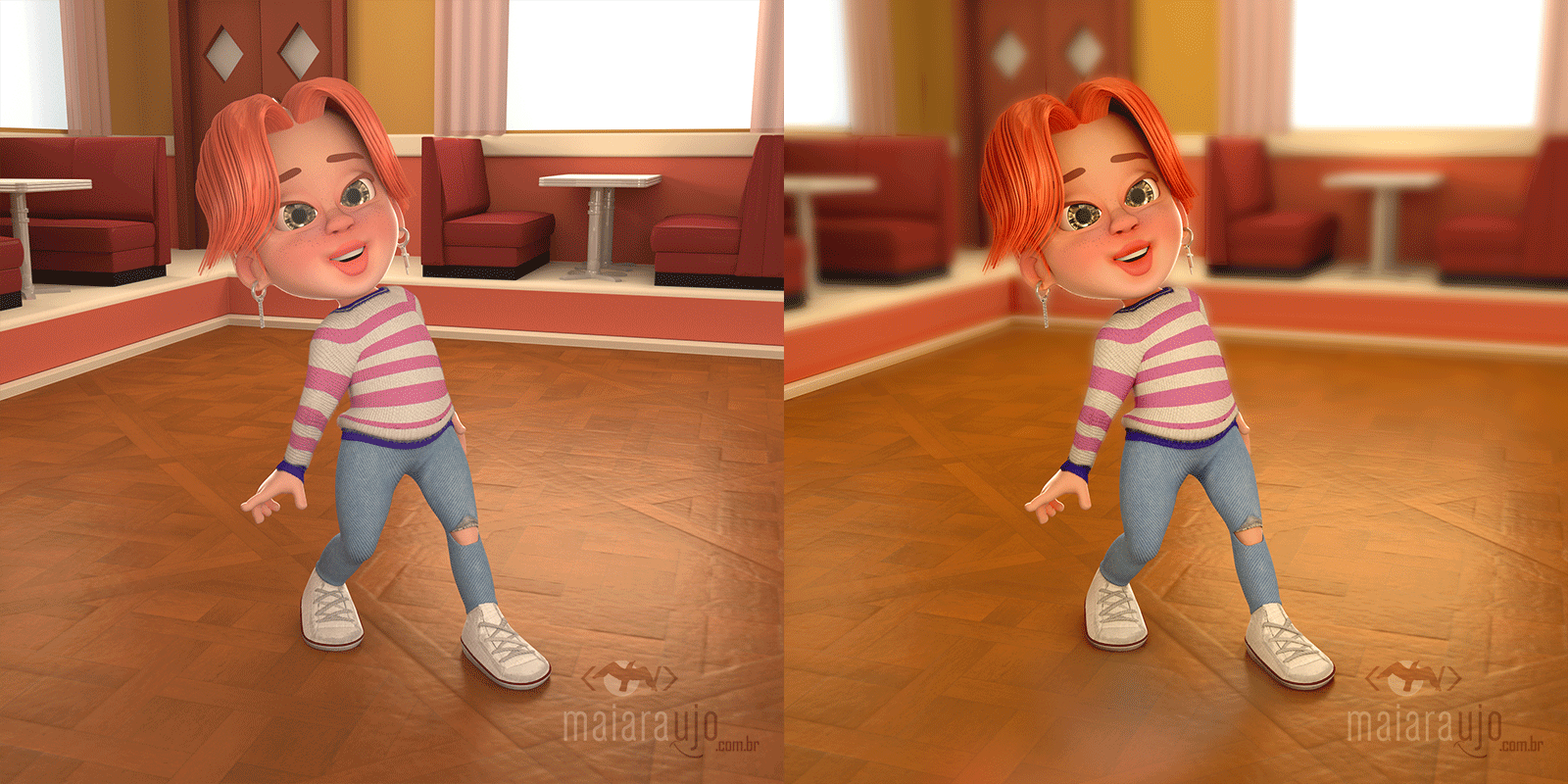
Stage 11 - Notes and conclusions
And after finishing and delivering, I always make notes on what I could have done better and what difficulties I still had in the project, a list to revisit in future projects and studies and know where I need to improve.
Every day we learn something, and that's what keeps us excited and curious about what this new day will bring.
And finally, see the result of this fanart in the links below:
Thank you for reading!
See you soon!

